Okay, so I’ve been seeing these “zodiac nails” trending everywhere, and I finally decided to give the Sagittarius version a shot. I’m a Sag, so, you know, gotta represent! I’m not a nail artist, by any means, but I figured, how hard could it be? (Spoiler: harder than it looks, but still fun!).
Gathering My Supplies
First things first, I needed to gather my stuff. I already had a bunch of nail polish, but I wanted to get some specific colors and tools. Here’s what I rounded up:
- Base coat and top coat: Gotta protect those nails and make the design last!
- A deep blue polish: I went with a shimmery, almost midnight blue, because Sagittarius is a fire sign, but also has that deep, philosophical vibe.
- Gold polish: For the accents, of course! Gold just screams Sagittarius to me – bold and adventurous.
- A thin nail art brush: This was crucial for drawing the little arrows and symbols. My regular polish brush was way too thick.
- Dotting tool: I figured this would help with making little stars or dots, adding some extra flair.
- Nail polish remover and cotton swabs: For the inevitable mistakes… and there were many!
The Painting Process (aka the Messy Part)
I started by prepping my nails – filing, buffing, pushing back cuticles, the whole shebang. Then, I applied the base coat and let it dry completely. Patience is key, people, even though it’s the hardest part for me!
Next, I painted two coats of that gorgeous deep blue on all my nails. It looked so pretty already, I almost just stopped there. But, I was committed to the Sagittarius theme!
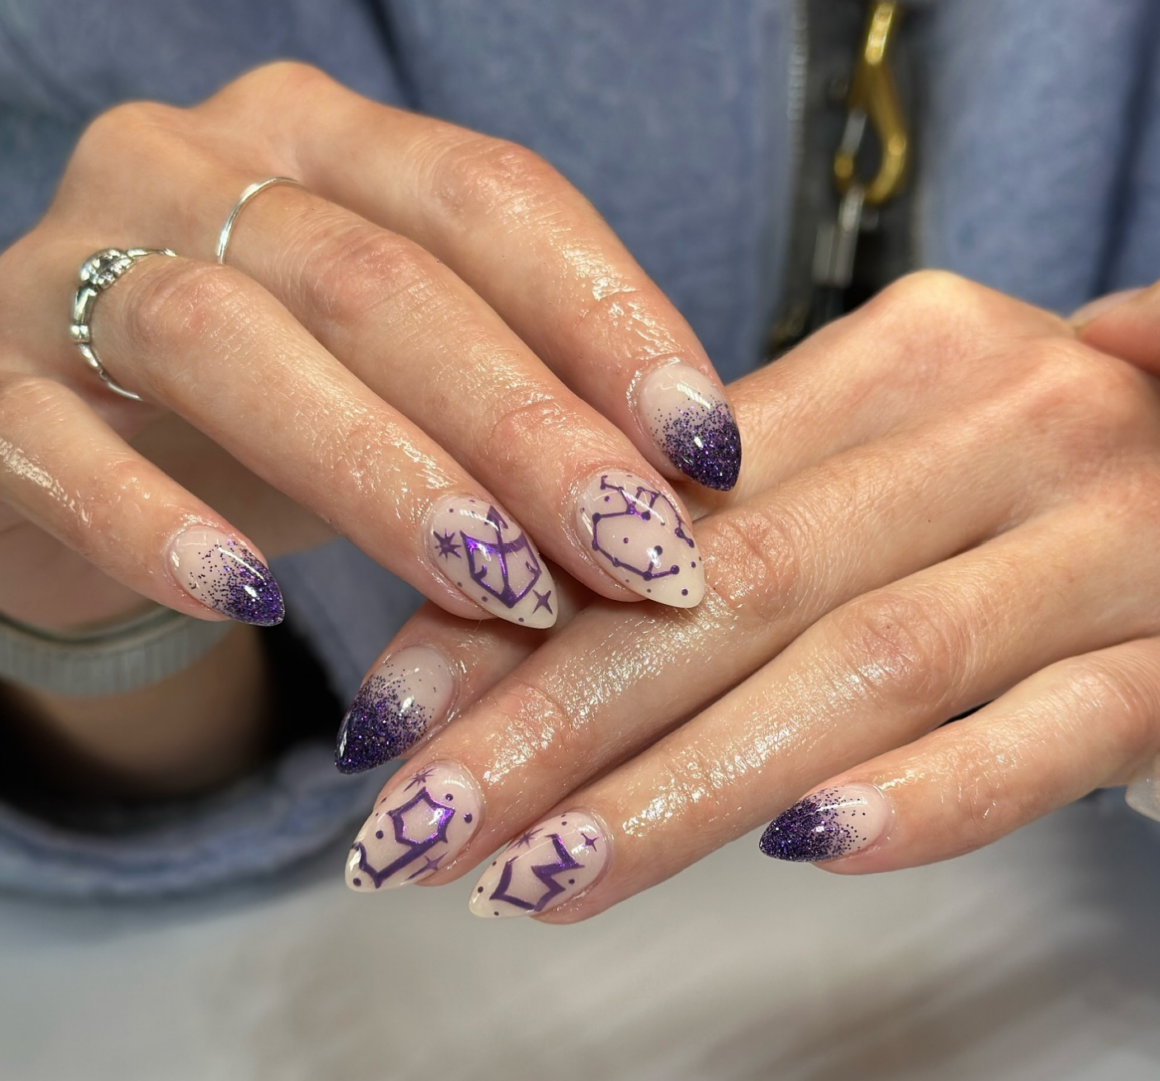
Now for the tricky part: the designs. I decided to keep it relatively simple (because, again, not a pro). On my ring finger, I used the gold polish and the thin brush to draw a little arrow. It took a few tries to get it right – lots of wiping and re-doing with the nail polish remover. It ended up looking more like a slightly wonky triangle with a line, but hey, close enough!
On my other nails, I used the dotting tool to add some gold dots and a few tiny stars. I tried to make them look like constellations, but they mostly just looked like… well, dots. But, you know, abstract art, right?
Finishing Touches & Final Thoughts
Once everything was (mostly) dry, I carefully applied the top coat. This is super important to seal in the design and prevent chipping. I even added a second layer of top coat for extra protection.
Overall, I’m pretty happy with how my Sagittarius nails turned out! They’re definitely not perfect, but they’re fun and festive, and they definitely represent my Sagittarian spirit. It was a fun little project, and it definitely got me into the zodiac nail art trend. Maybe I’ll try Capricorn next… or maybe I’ll just stick to solid colors for a while. We’ll see!


