Okay, so I saw this “alc aries dress” thing trending, and I was like, “I gotta try making one!” I’m no professional seamstress, but I enjoy a good DIY project. This is how it went down.
First, I gathered my materials. This was a bit of an adventure in itself. I needed:
- Some fabric – I went with a flowy, silky-ish material in a color I liked.
- Scissors, obviously.
- Needle and thread (matching the fabric color, duh!).
- Pins, lots of pins.
- A measuring tape.
- And because I’m a bit clumsy, a seam ripper. Just in case.
The Messy Middle
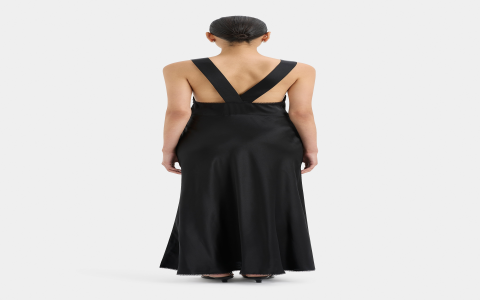
Next, I laid out the fabric. It was huge! I felt a little overwhelmed, to be honest. Then, I started measuring and cutting. The aries dress has the unique bodice,so I draped the fabric over myself, trying to get a feel for how it should fall. This involved a lot of awkward twisting and turning in front of the mirror.
Then came the pinning. Oh, the pinning! I pinned the fabric together where I thought the seams should go. This was mostly guesswork, I’ll admit. I definitely stuck myself a few times. Ouch!

After the pinning came the actual sewing. I started slowly, carefully stitching along the pinned lines. Some parts were easy, straight lines, but the curves were super tricky! There was some definite seam-ripping action involved. I had to redo a couple of sections a few times to get them right(ish).
Finally!
After what felt like forever, I finished sewing the main parts together. I tried it on, and… it kind of looked like a dress! I even added some of extra decoration. It wasn’t perfect, for sure, but it was wearable. And I made it! I felt pretty accomplished, even if it wasn’t exactly ready for the runway.
All that work,I finally have my alc aries dress!


